I get asked quite a bit how I label wires on boats and finally got around to an answer. Technically, this is not how we do it. We use Professional print on heat shrink label machines. I started out using this technique, and over the years have tried lots of rather expensive commercial options from just about every brand. The commercial machines are expensive, fragile and the labels or print-on shrink tube is insanely expensive. Over the years at Compass Marine Inc., we have tried everything from electrician specific tools, costing as much as $800.00 to the cheap Brother P-touches, the same ones you’ll see here. While we do use professional label printing tools they are expensive and not typically something a DIY boater will spring for. The machine that’s held up best for us are the Rhino 5200’s. Here’s one of them…

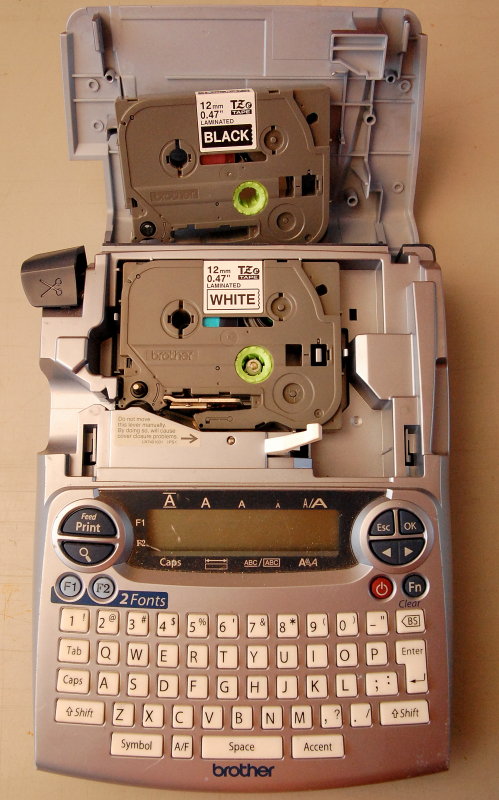
I’ve found that a simple Brother P-Touch label maker from Staples works wonders, providing you use the right tape. These label makers often go on-sale for $9.99 to $20.00. Even for the one pictured, I paid just $19.99 plus the TZe tape. Using a P-Touch is not however without some tricks and techniques, which I will explain.
In order to use a Brother P-Touch you will want to invest in their TZe label tapes shown in this image, Brother PN# TZe-231. they come in many colors but black letters on white tape (TZe-231) seems to work and is often the least expensive and most available. I actually prefer the black labels with white lettering but this is usually an on-line order and not stocked at Wal*Mart or Staples.
Usually we use black labels with a white letters (TZe-335) but, only out of personal preference. The inexpensive entry level label tapes will turn black when you put heat to them. Cheap label tapes can even turn black in a hot engine room. Avoid the lowest level tapes for wire labeling. The TZe tapes do not turn black when you heat shrink over them but, the cheaper label tapes do. The cheaper labels will turn black once you hit them with a heat gun but the TZe labels survive, provided you don’t go over the top with your heat gun.
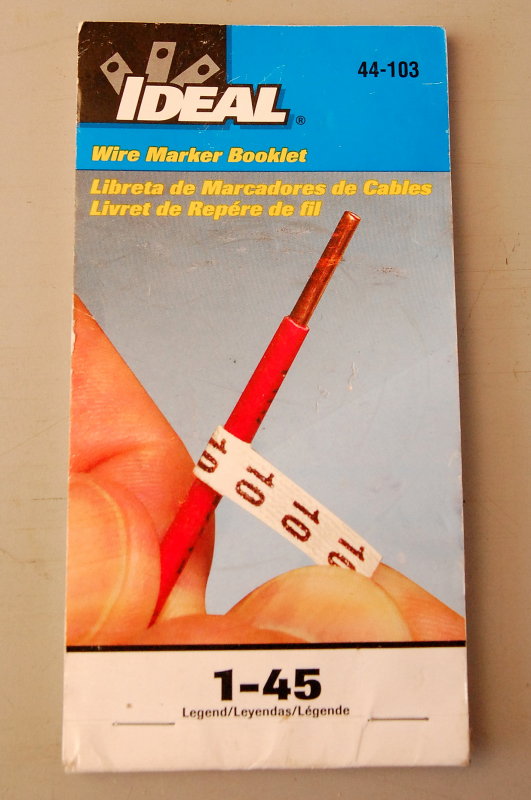
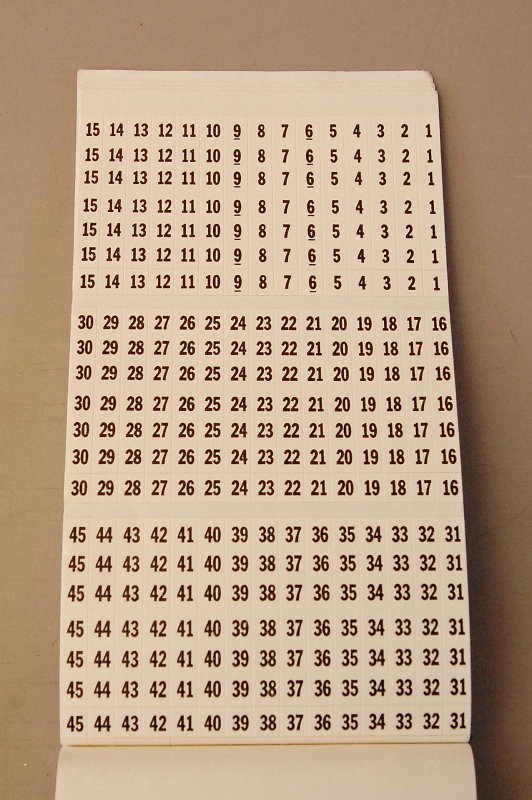
For smaller individual wires, 16GA to 10GA, you can also use the IDEAL #44-103 1 – 45 number kit. These are a cloth tape numbering system that only require one piece of “tape” rather than making your own double digit numbers with a 1- 9 numeric kit. They are also available in higher numbers if you need them.
I buy the IDEAL #44-103 at Home Depot. They are quite inexpensive and a single book will last you multiple wiring jobs.
The Numbers
– Use a number at each end of a wire for positive identification
– Create a wiring diagram and use the numbers on the diagram
Without a diagram to go with the numbered labels it is only marginally better than no labeling at all..
PLEASE HELP!
This site is 100% reader supported. My wife is urging me to shut it down as it just keeps costing us money. My stroke recovery is very costly as is authoring this website and keeping it secure.
Click the DONATE button below if you would like to make a donation via BUY ME A COFFEE.


MHt’s recommended labeling machines
Buy Label Makers – MHT/Amazon Store
The TZe tapes also fit in the least expensive Brother P-Touch machines. This one cost just $9.99 at Staples. When I drop it and break it, and this happens, I feel much less of a wallet dent than dropping an expensive Rhino or Brady Commercial label maker.
For marking duplex, triplex and battery cable I will often write on the jacket with a Sharpie marker first. This serves as a back up to the actual label.
Here I’ve labeled the wire with the Sharpie, printed the P-Touch TZe label and cut the clear heat shrink.
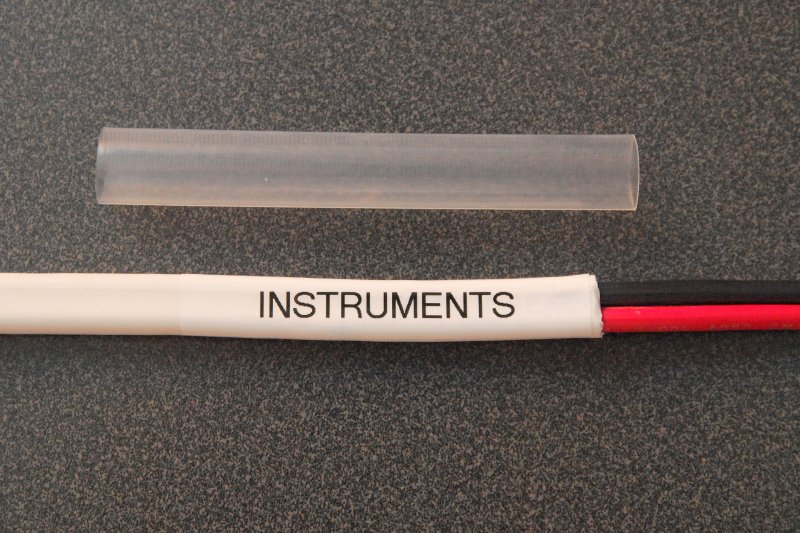
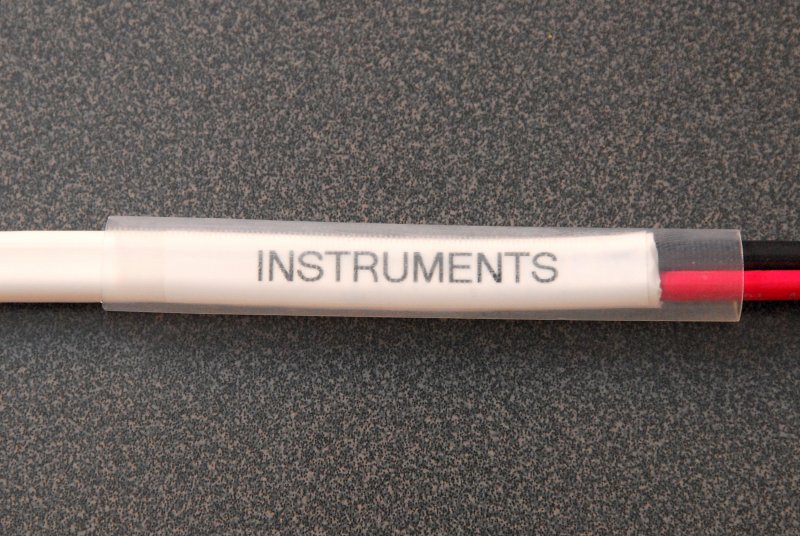
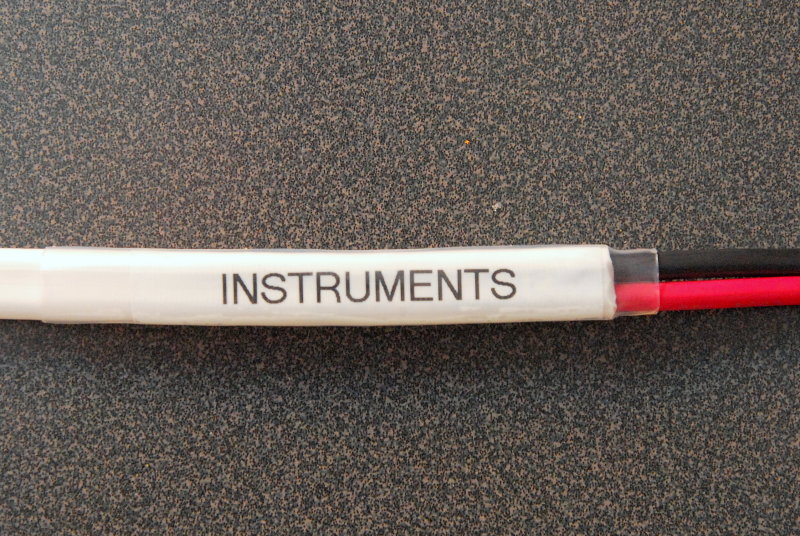
The last step is to shrink the clear tubing with a heat gun. Please DO-NOT use flame or over-heat the clear shrink. Applying more heat than is necessary serves no benefit. Just shrink it until it is tight and you’re done. For duplex wire (two wires in one jacket) in 12GA and 14GA I use 1/2″ clear shrink (not adhesive-lined). For larger battery cables I use 3/4″ to 1″.
Over the years I have learned that my customers who are willing to pay for the labeling, want and prefer, the wires to be labeled in a common-sense fashion. I try to label so that even a novice with wires can understand it. This is not always easy but once you get a system it becomes easier.
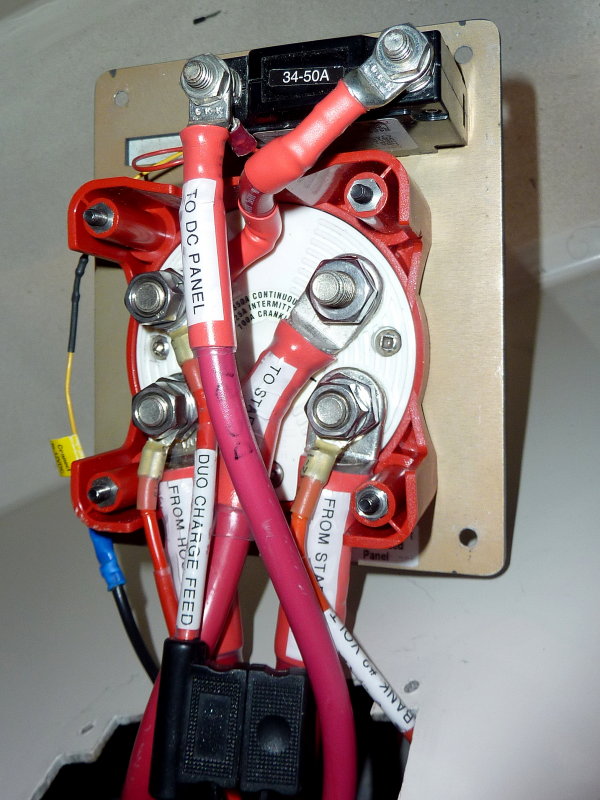
Common sense labeling on a boat means that each label is wired as “TO” or “FROM” and the device, load, panel, charger, panel etc. that corresponds with that wire.
In this photos you can see how easy it is to determine what goes where and what comes from where. If you needed to find the in-line fuse for the Balmar Duo Charger it would take two seconds to find.
For those of you who are marine electrical professionals, this also makes over the phone trouble shooting considerably easier when your customer has an issue in a far and distant location from where you are. These little details go a long way towards your customers overall satisfaction with you and your work, and may even turn into referrals. How many boaters know how to read a wiring diagram, electrical schematic or could even locate it on the boat? Diagrams are terrific but clear common-sense labeling also helps.
I like common sense labeling, where it is appropriate.
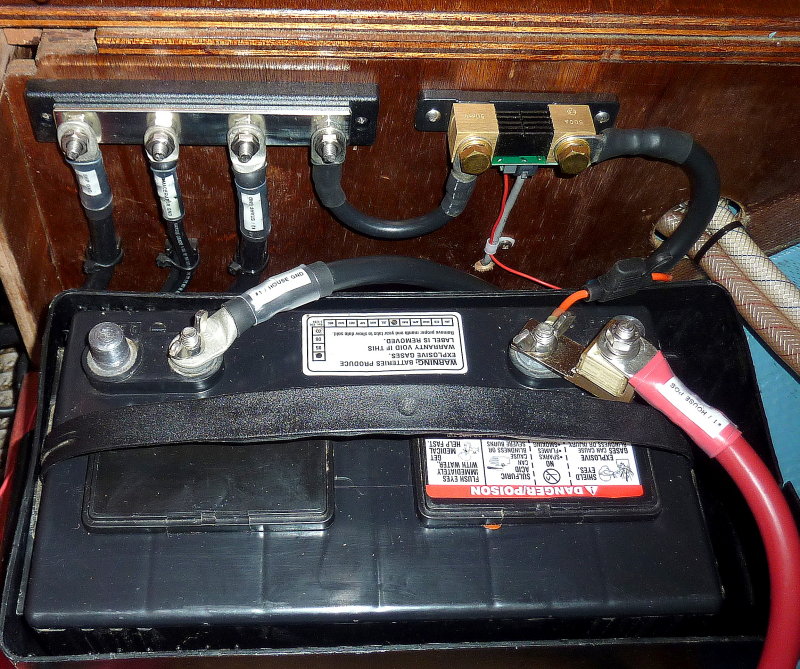
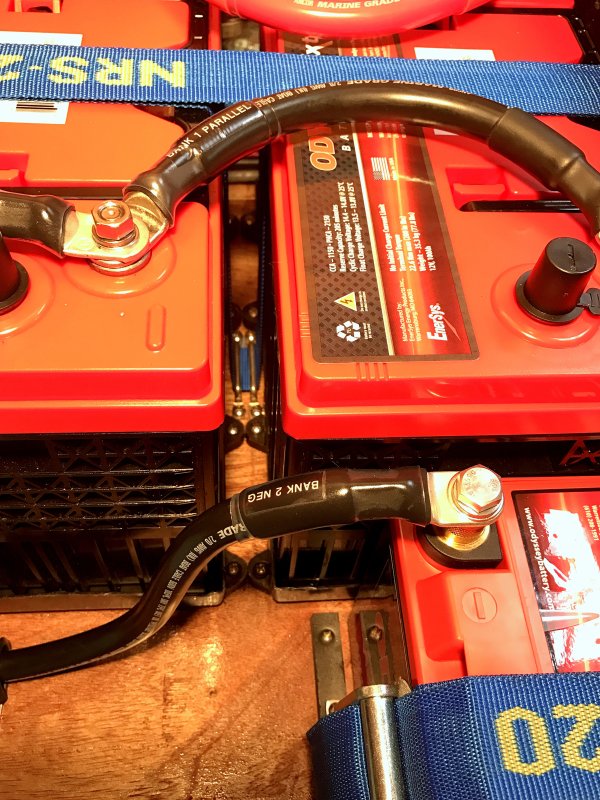
A Small Battery System Even on a small battery system labeling makes sense. This owner can disconnect and re-connect his system very easily and knows where every wire goes.. In this photo he has disconnected the banks for the winter, and removed any potential for parasitic loads, by removing the DC neg wires from the aft most battery.
Even if he forgot where the wires went in the spring they are clearly labeled so reassembly is easy.
 Earlier I mentioned the IDEAL number packs. In this picture I have labeled this wire as #5. I’ve also cut a 1/2″ length of 1/4″ clear shrink that will be placed over the wire before crimping on the terminal.
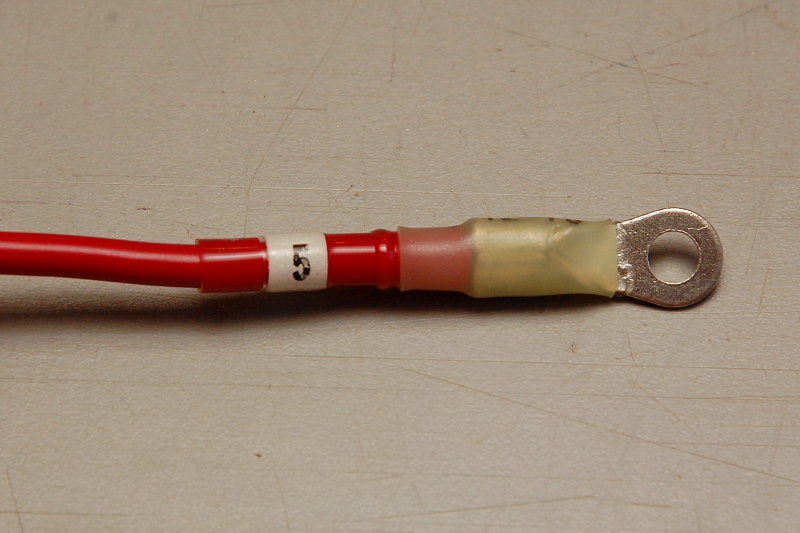
When labeling individual wires be sure to place the number far enough down the wire so that when you crimp on the terminal you have plenty of space. I usually crimp the terminal then slide the clear back up the wire and melt both the terminals heat shrink and the number shrink together.
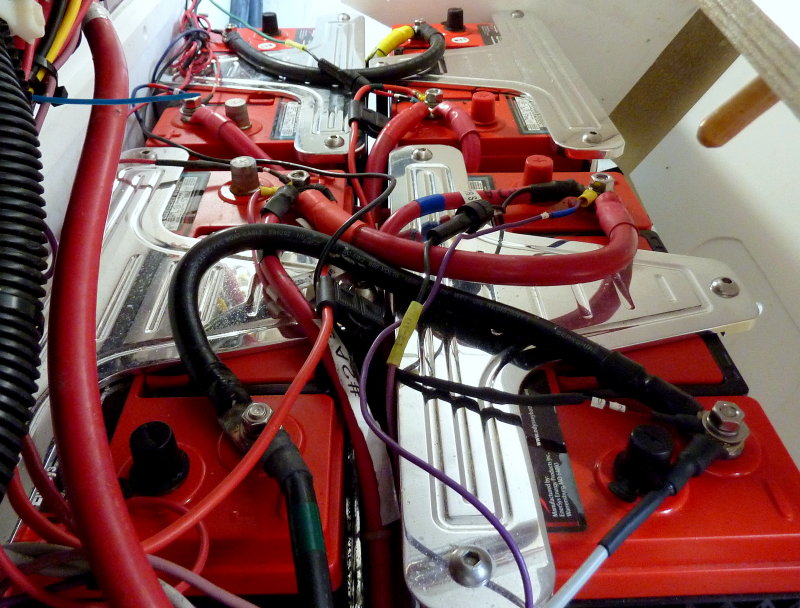
Oh, oh spaghetti dinner? Sometimes when we get a call to address sloppy wiring, this poor owner barely stands a chance to even properly disconnect the 12V system for winter.
Note the P-Touch label about to fall off. This is why the clear shrink is key to using P-Touch labels. Do you know where any of these wires go? Neither did the owner!
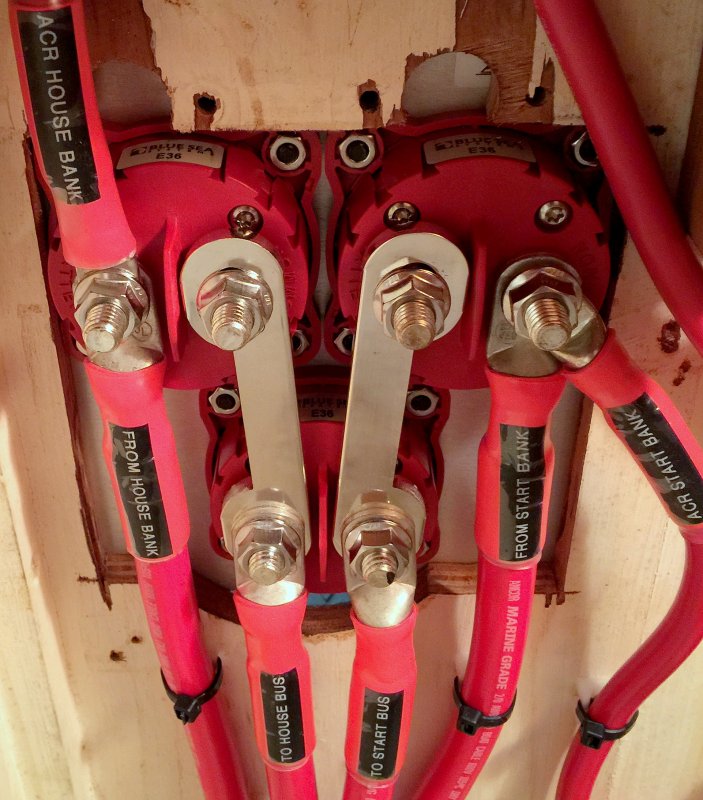
Like anything you can take your labeling to what ever level you want. This owner wanted the major neg wires labeled too and I had just completed that in this photo.
IMPORTANT: This photo was taken “in-process” and the “wing nuts” were used simply because they were there from the old bank. This battery bank was not left with wing-nuts on it!
Tze White on Black Labels
We generally prefer white on black
Lots of Labels here

Lots of possibilities even with a $9.99 label maker
It Eliminates the Confusion
Neat, inexpensive & durable
Good Luck & happy boating!